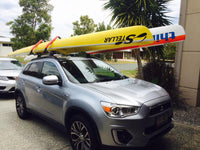
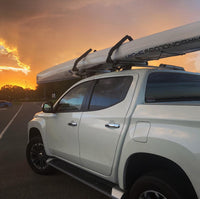
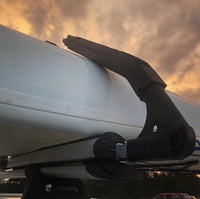
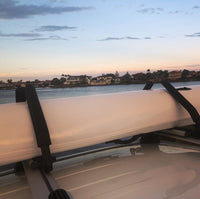
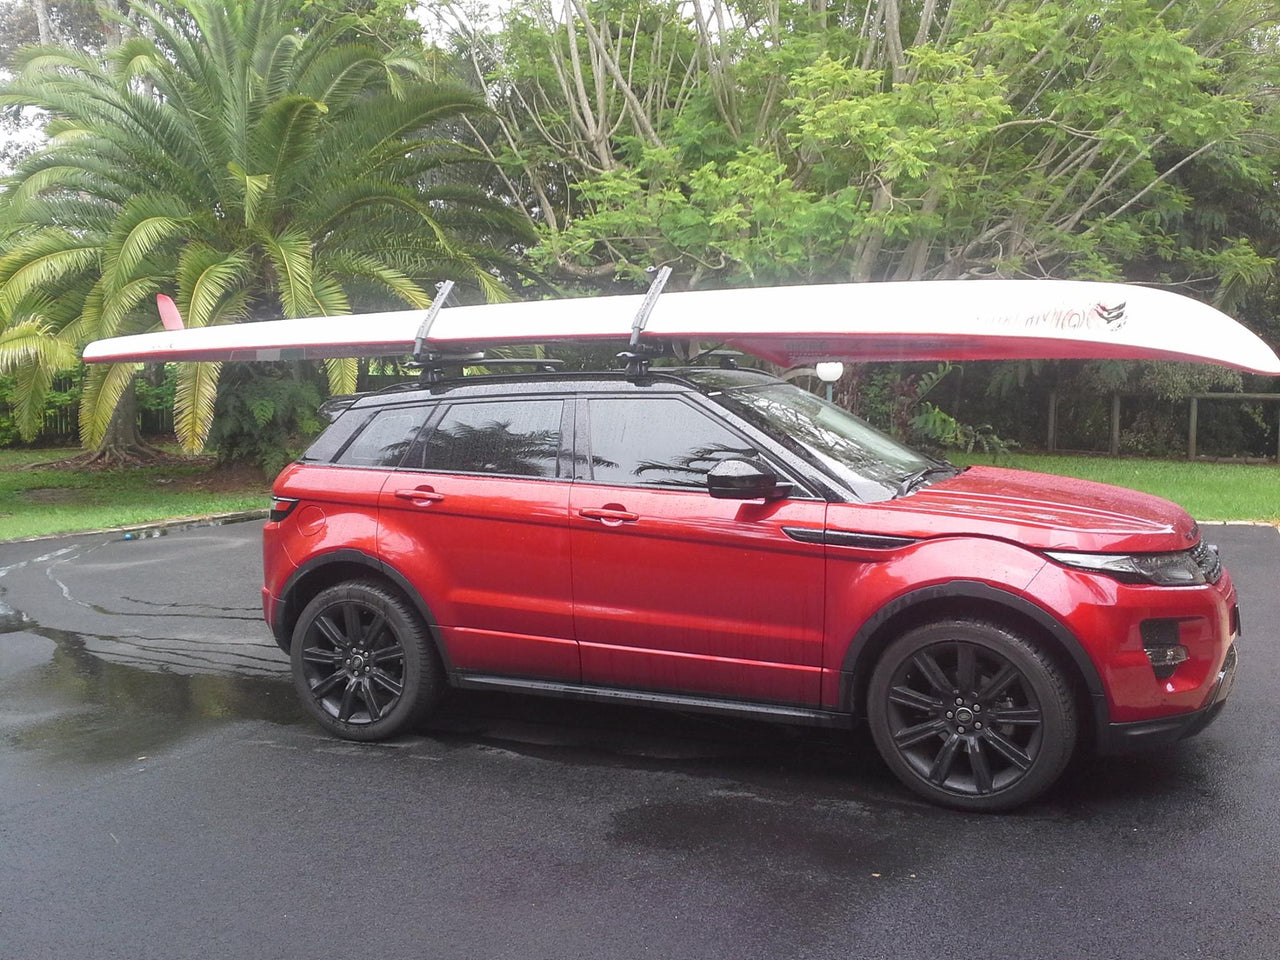
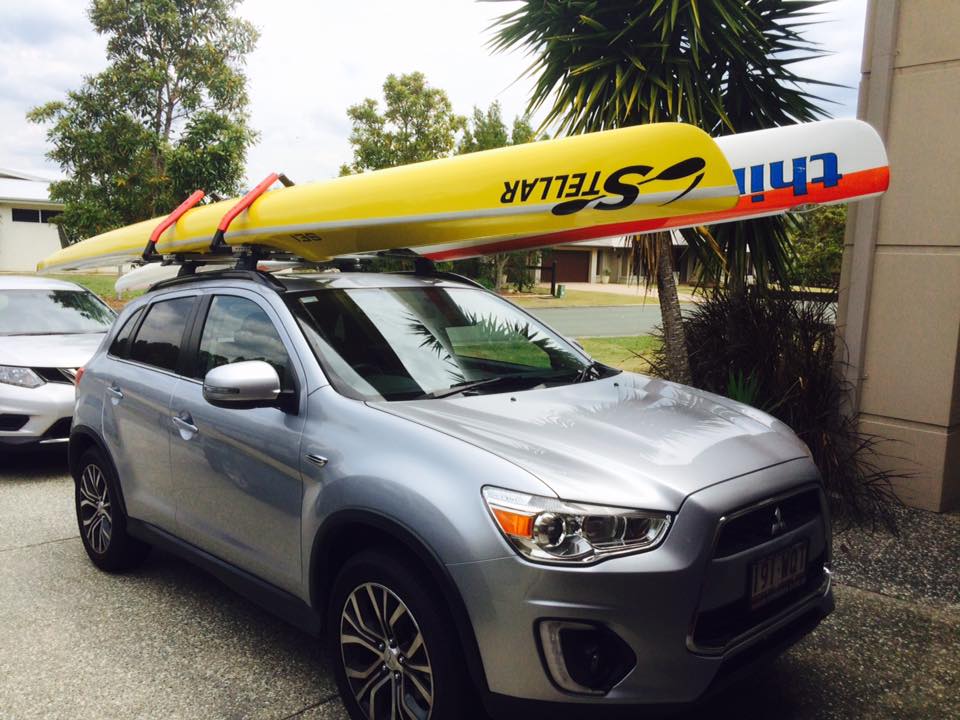
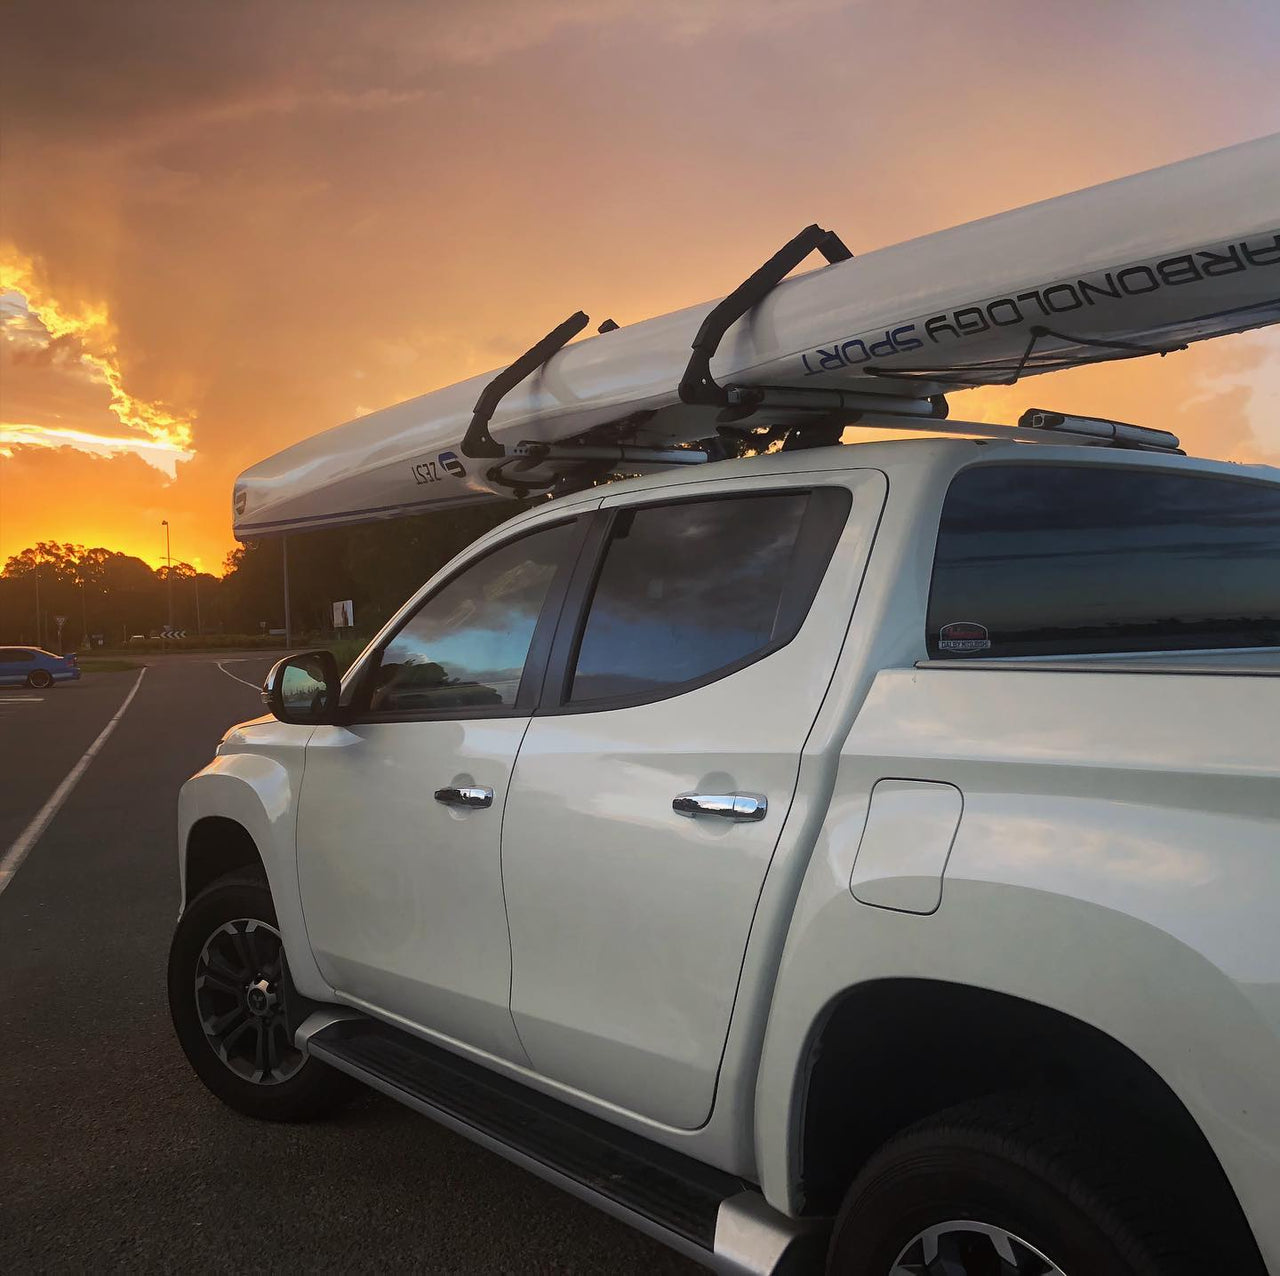
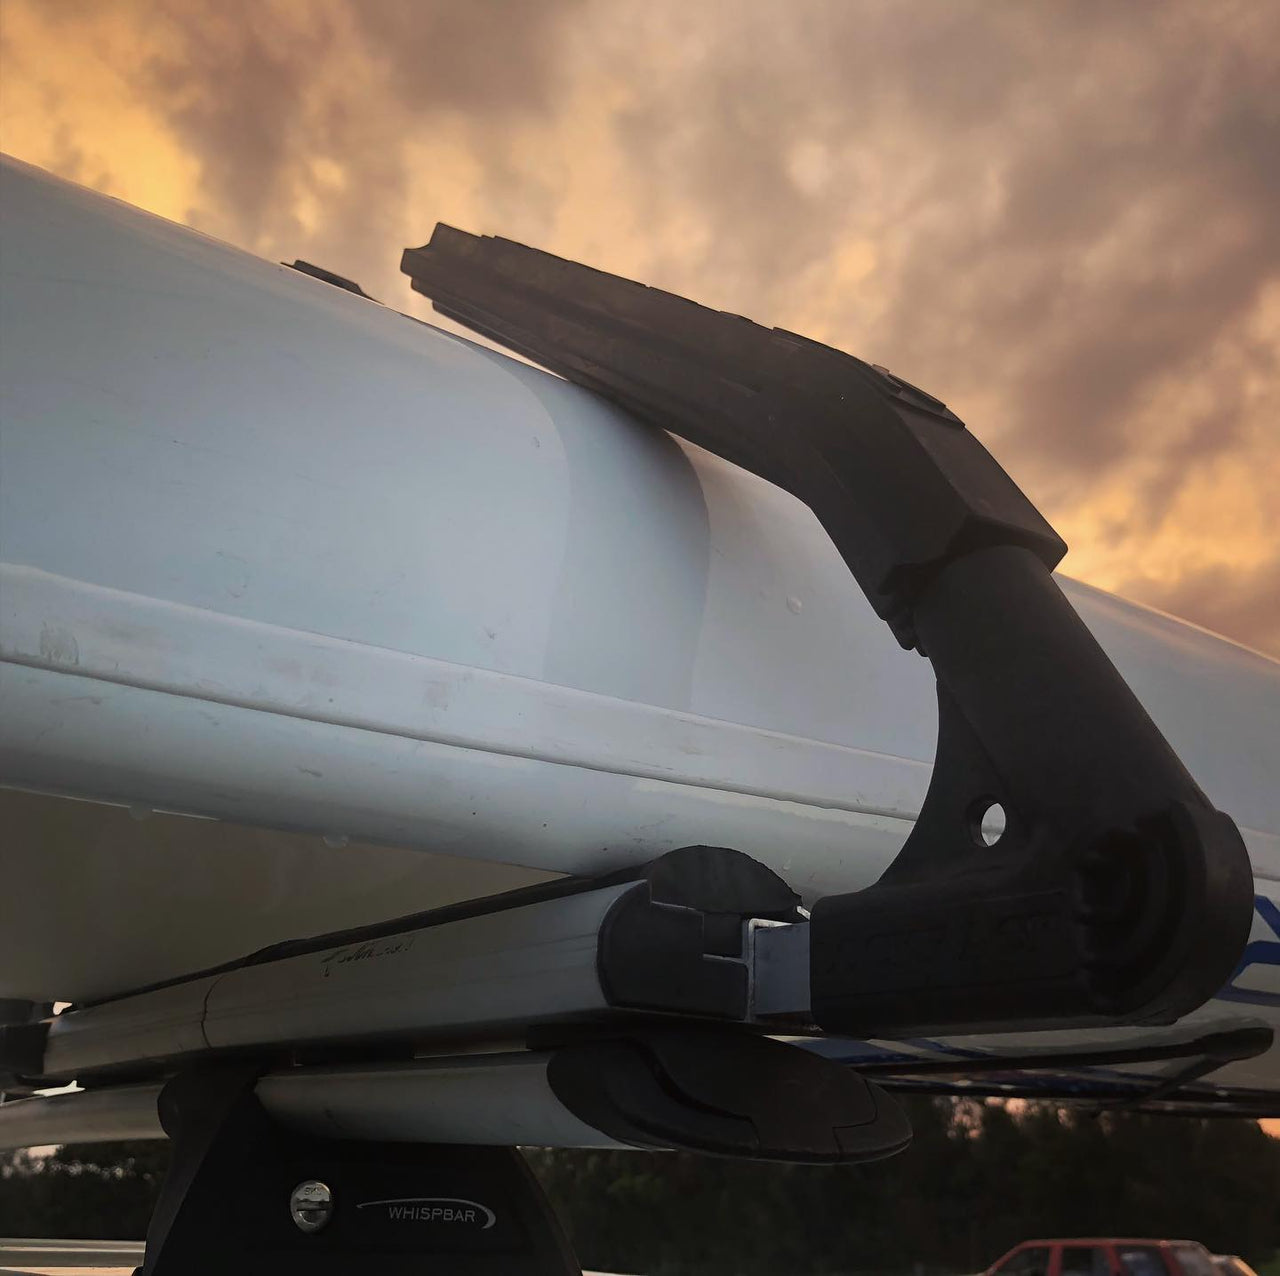
Whats in the Box
The Technical Stuff
Fitment Guide
Getting the most out of your Lockrack
Mounting Bracket Info
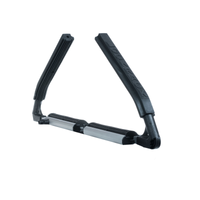
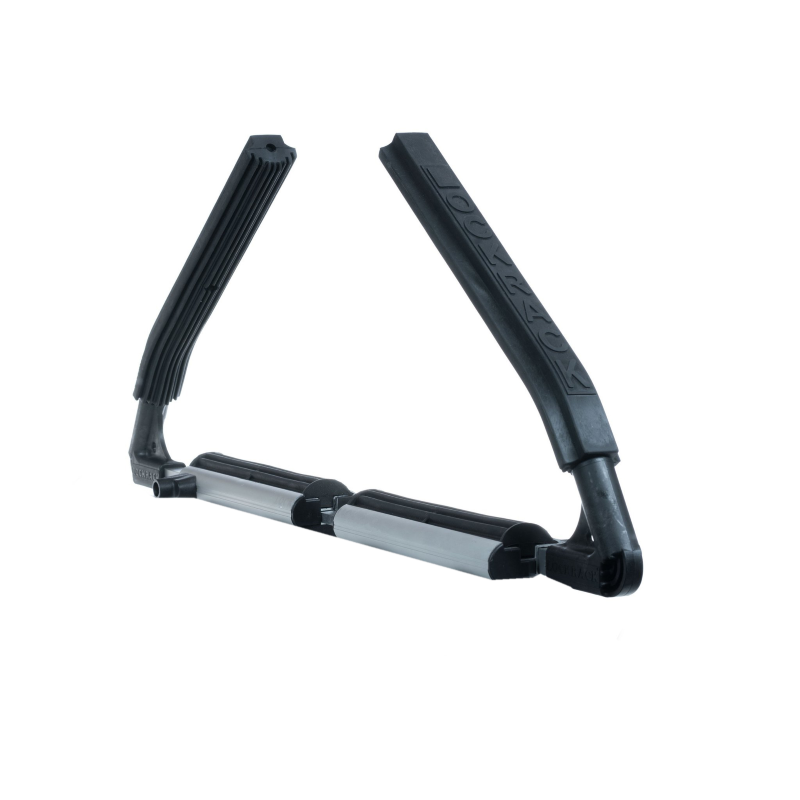
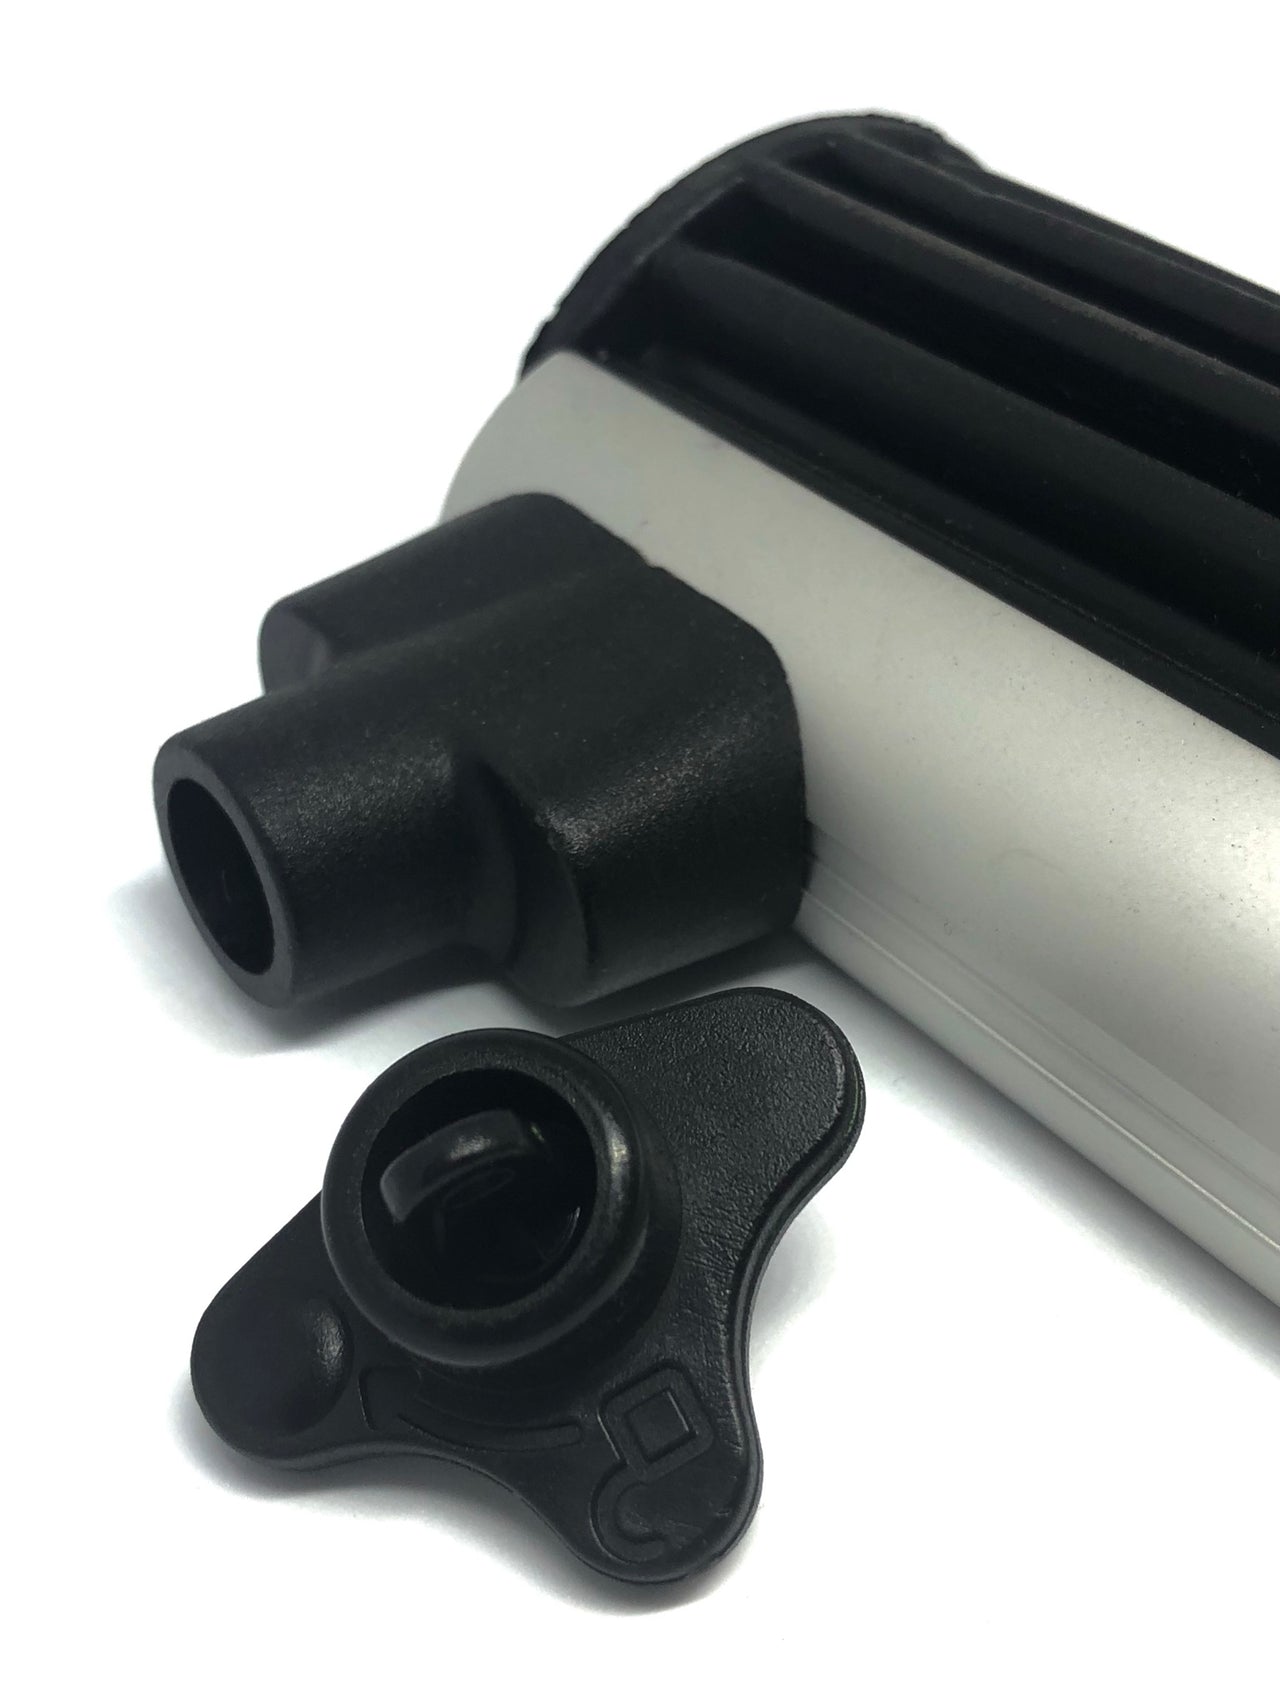
Set Includes:
- 2 x Adjustable Bases (40-50cm)
- 4 x rubber inserts
- 4 x Long Arms (Low Angle - Black Rubber)
- Set of keys
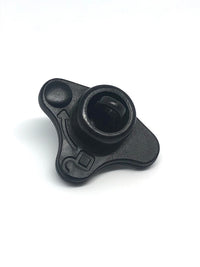
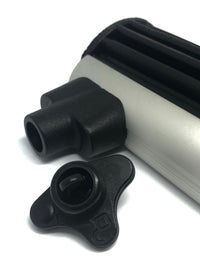
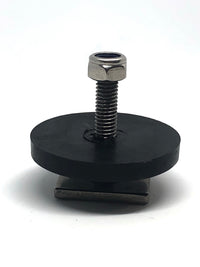
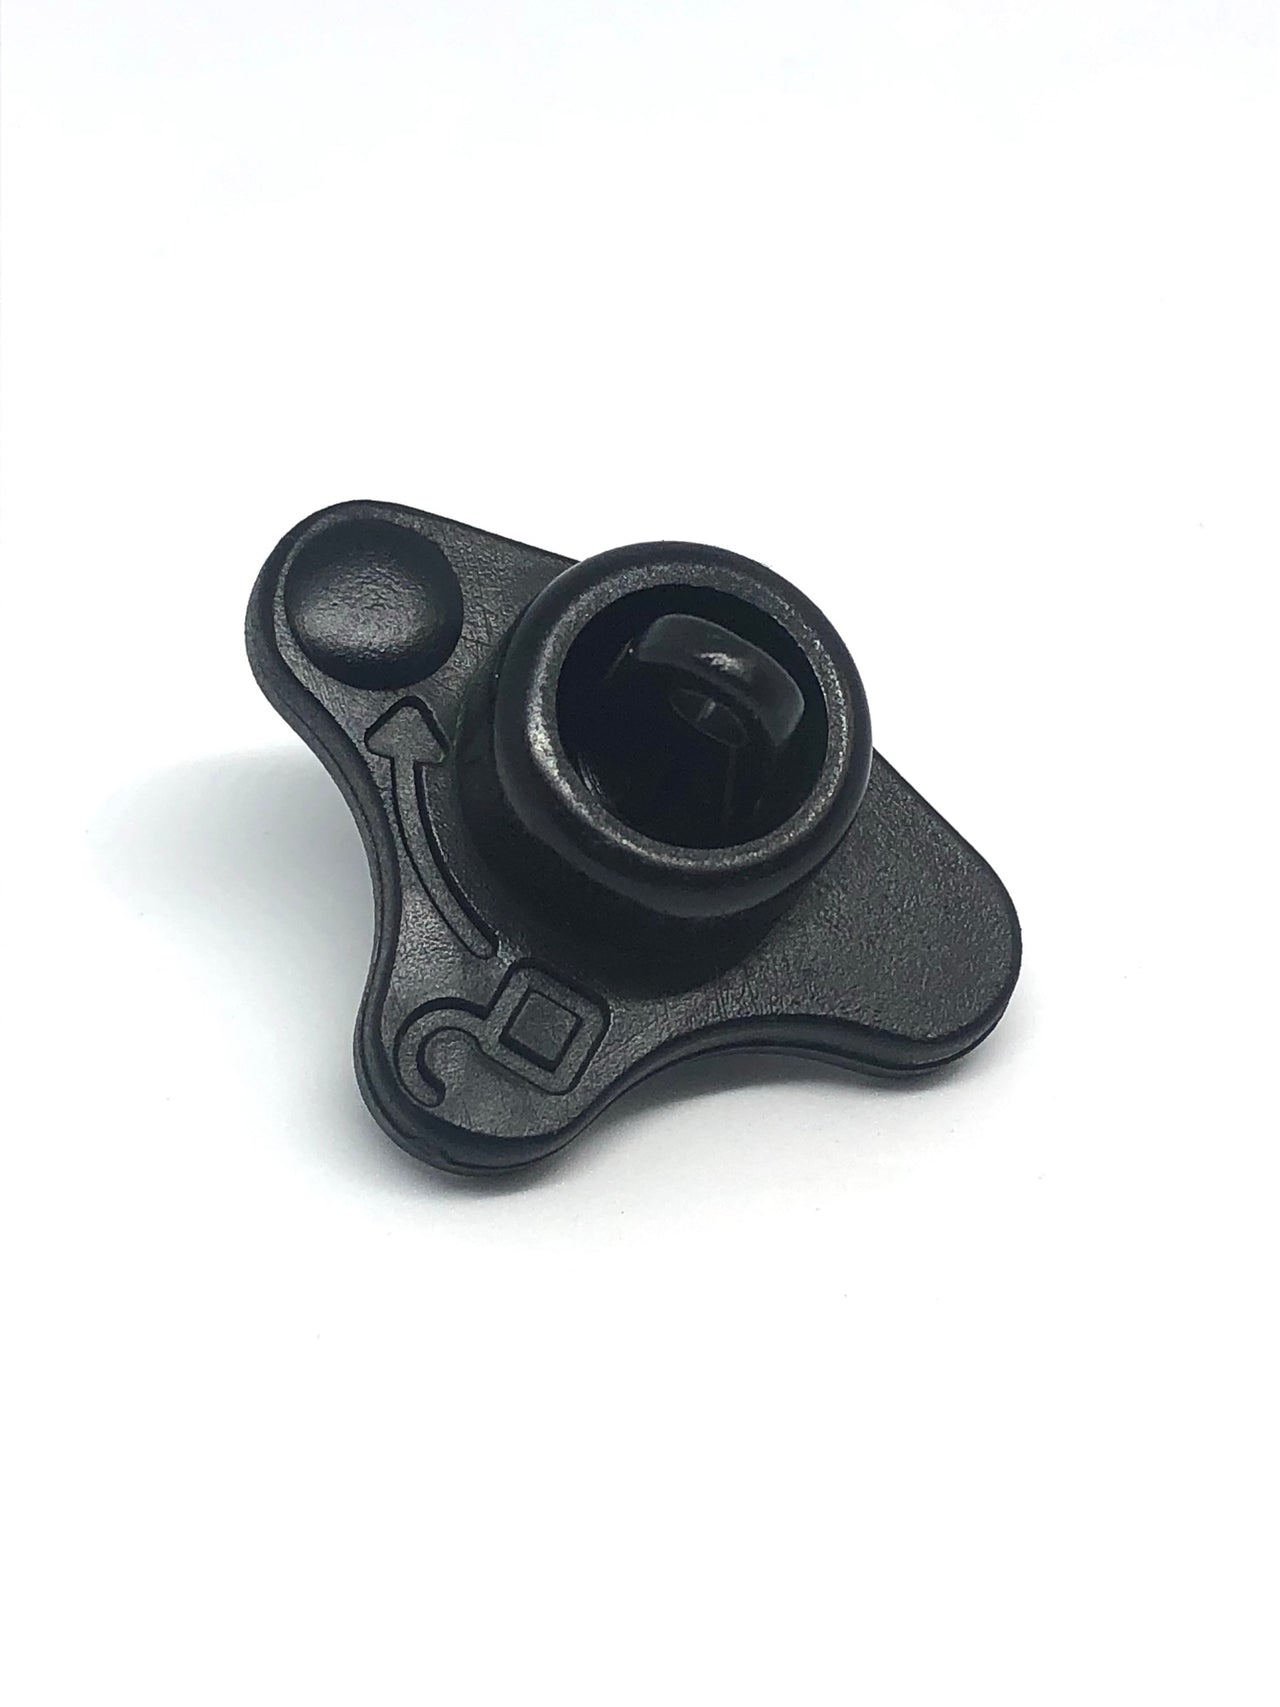
- 8 x mounting brackets

-
Less wind drag than competitors.
-
All components are rust resistant.
-
Stainless steel attachment to roof rack.
-
Designed to attach to most makes of roof racks.
-
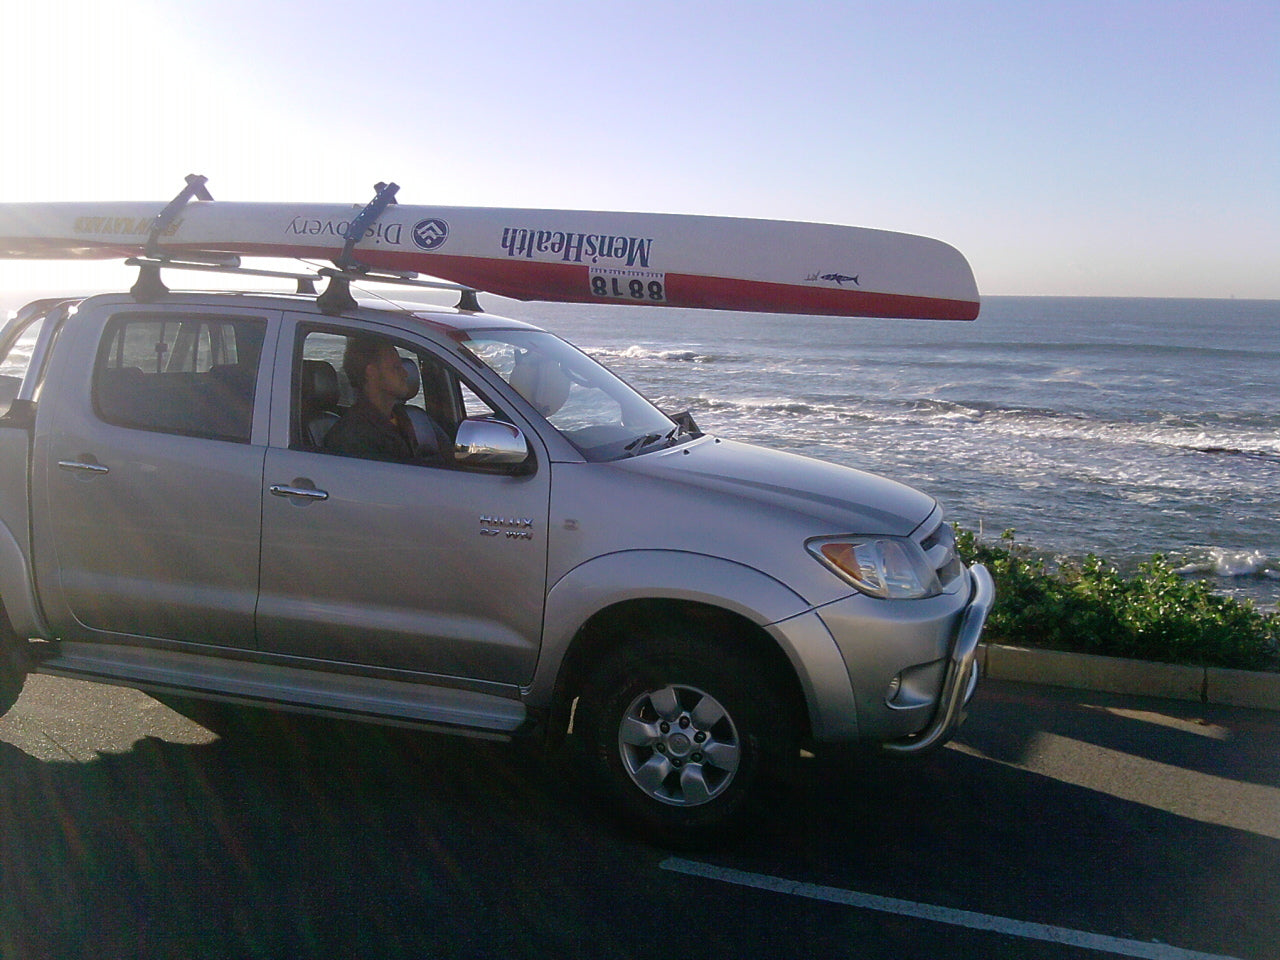
Facilitates single person handling even in extreme windy conditions.
-
Arms are interchangeable - only one base set is required.
-
Arms fold flat when not in use or can be completely removed and stored.
-
Arm width can be adjusted in and out to accommodate most craft.
-
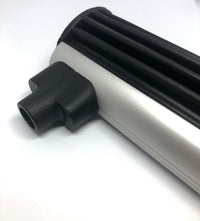
The elbow of the Lockrack is made of glass filled nylon, which is extremely strong.
-
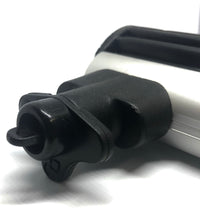
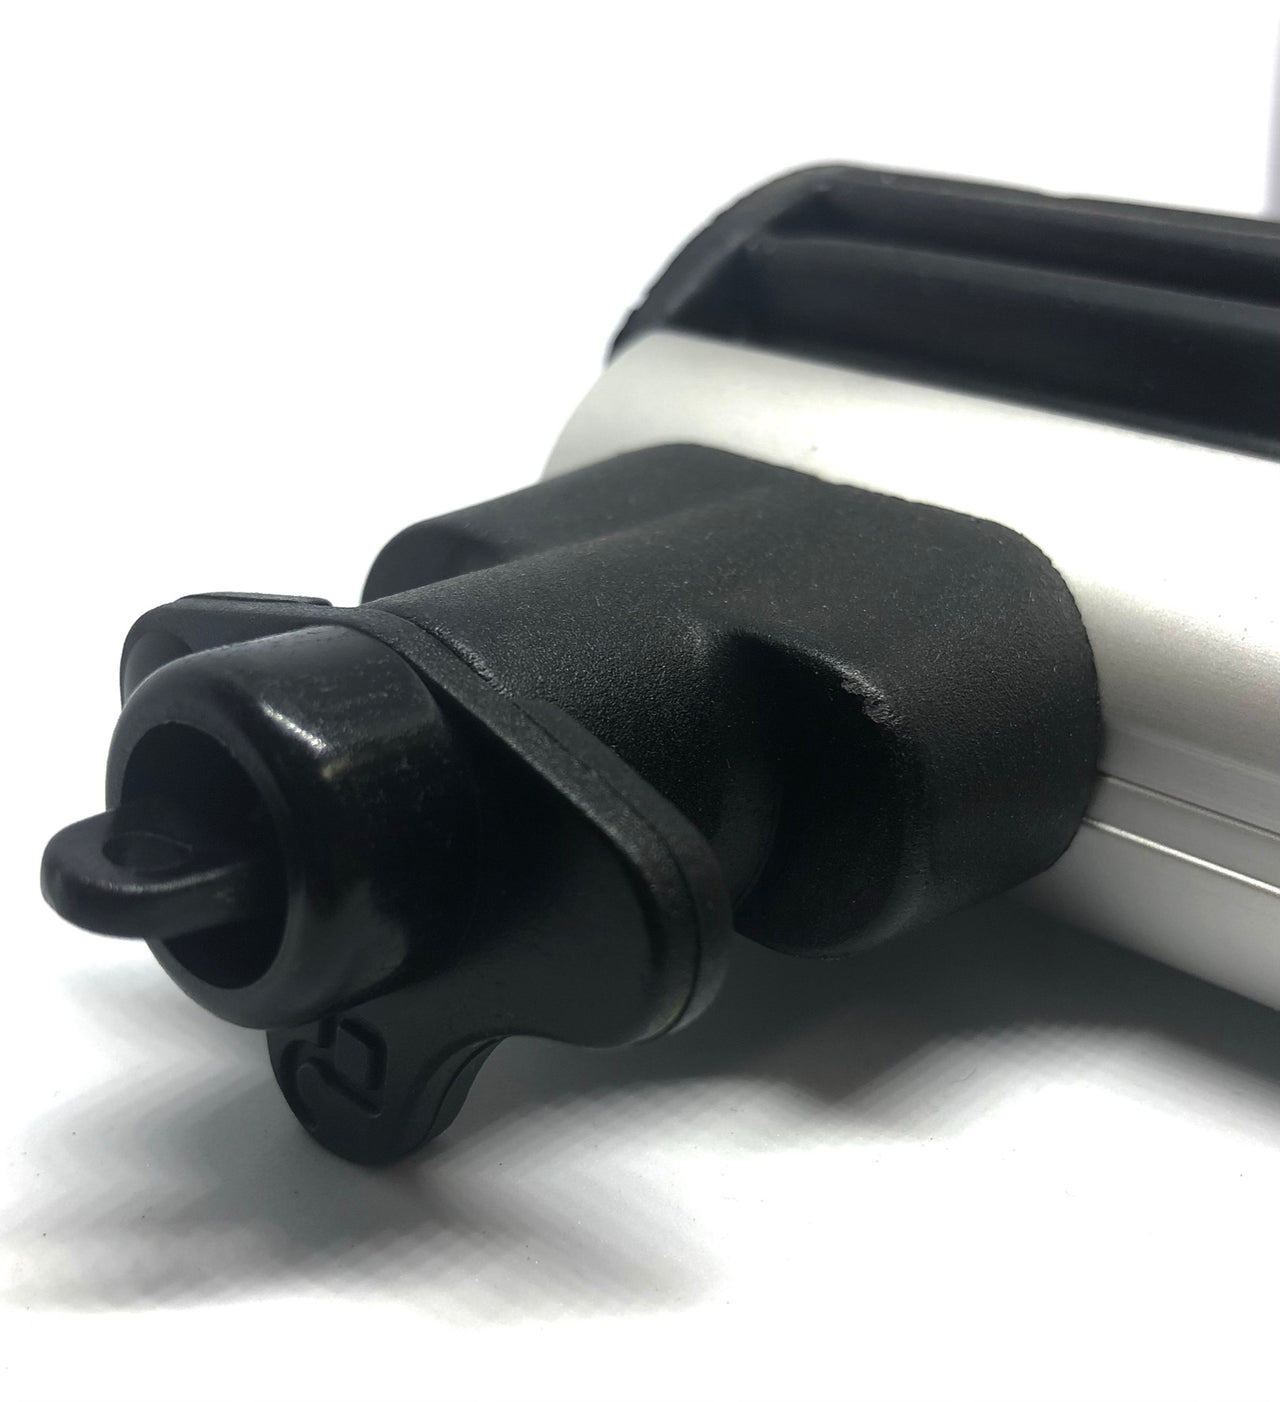
The lockable arm adjustment pin is made of aluminium and has been tested to 800kg.
-
The UV stabilized arms are non-slip, weather-resistant and soft on all crafts.
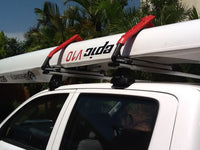
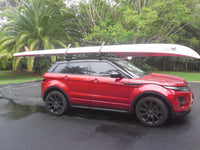
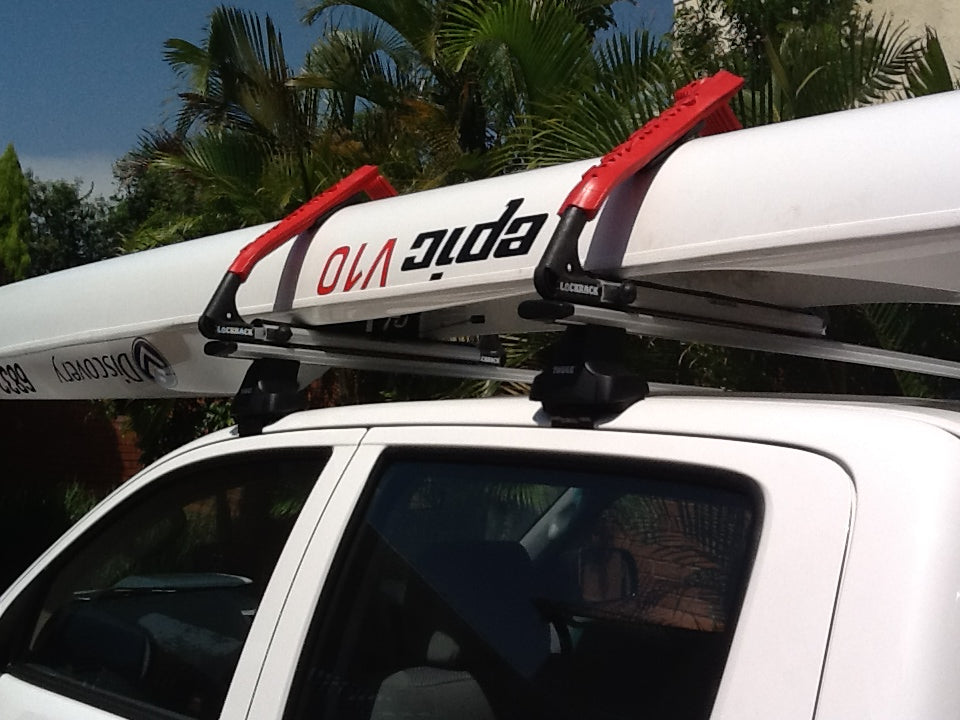
The Lockrack is designed to attach to most roof rack brands/styles, with an accessory groove.
Getting started:
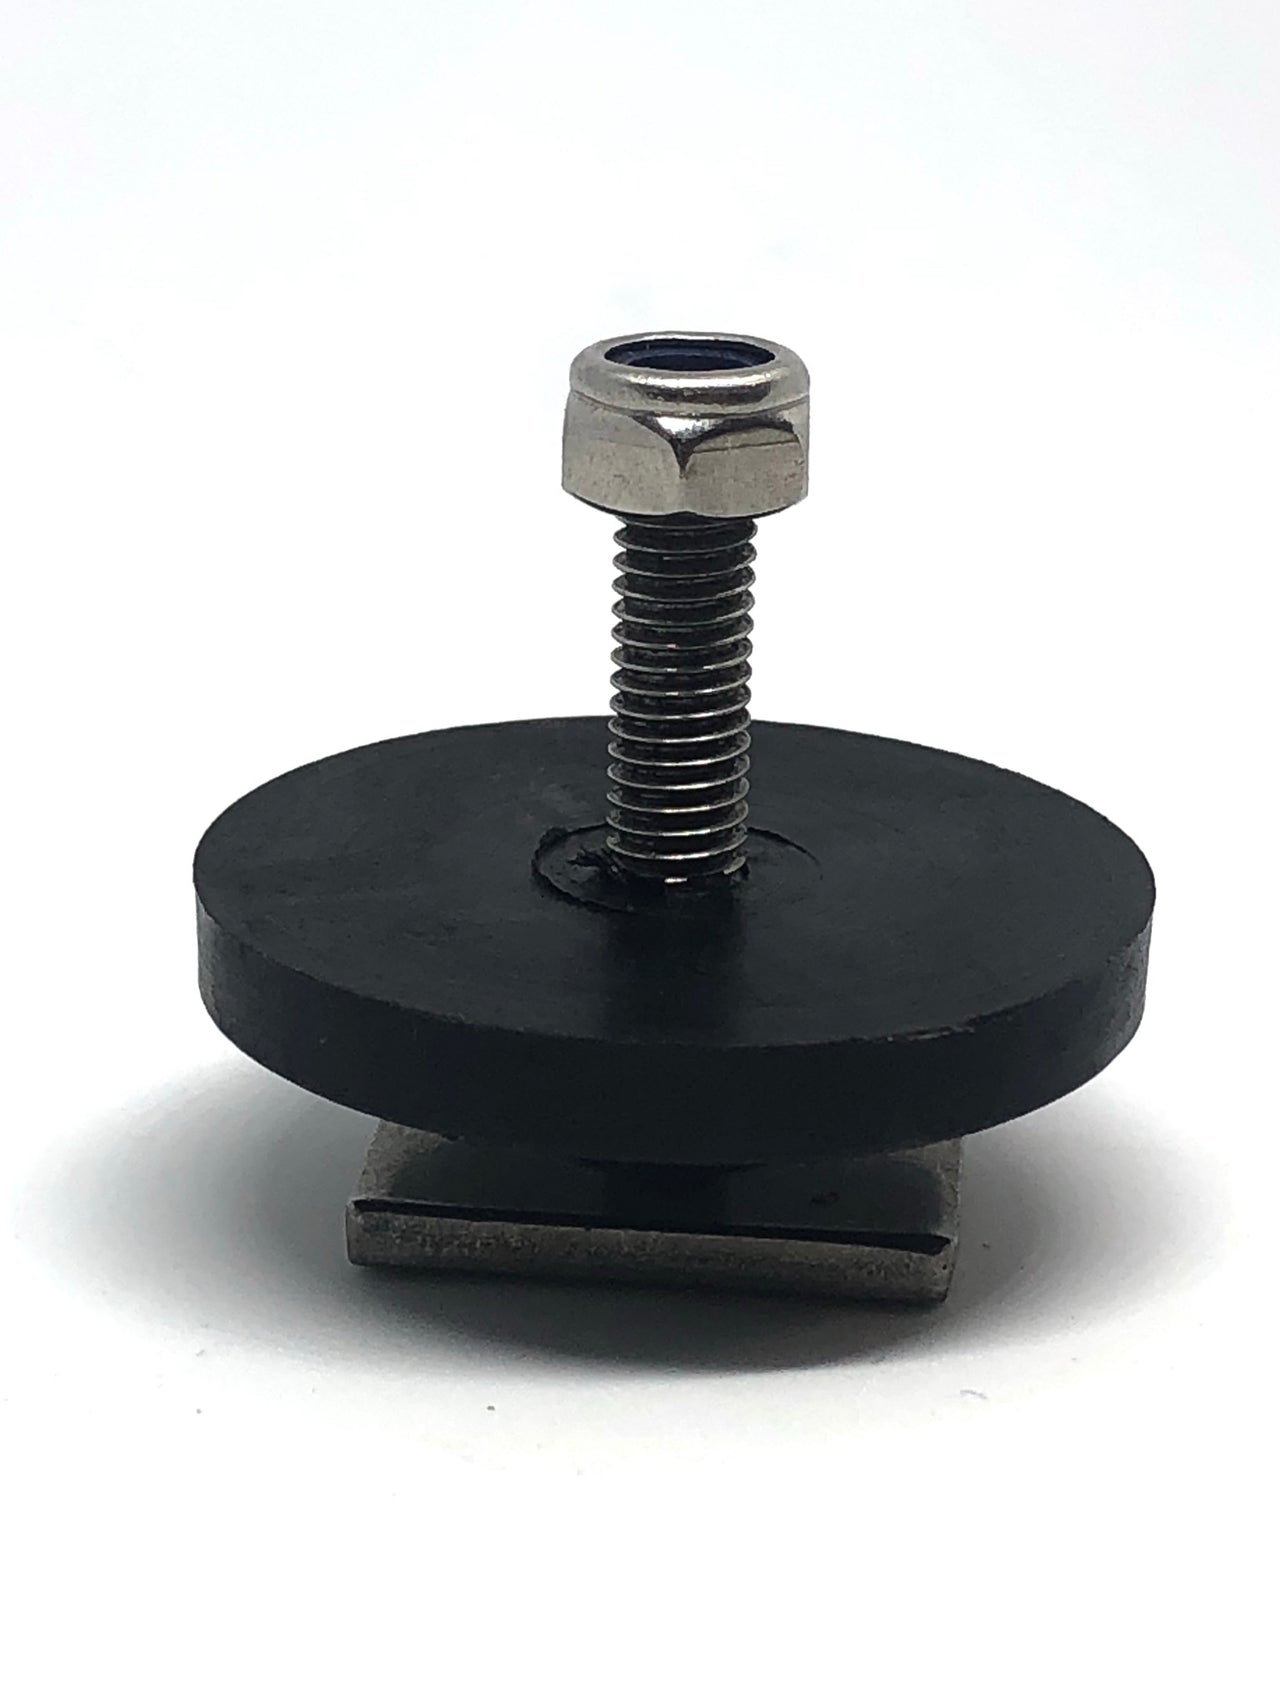
- To attach the base plate, take the supplied flat screw and insert the plastic bush to the top.
- Insert the flat screw into the groove of your roof rack ensuring the bush stays above the roof rack and slide into the required position. Repeat this for the second flat screw.
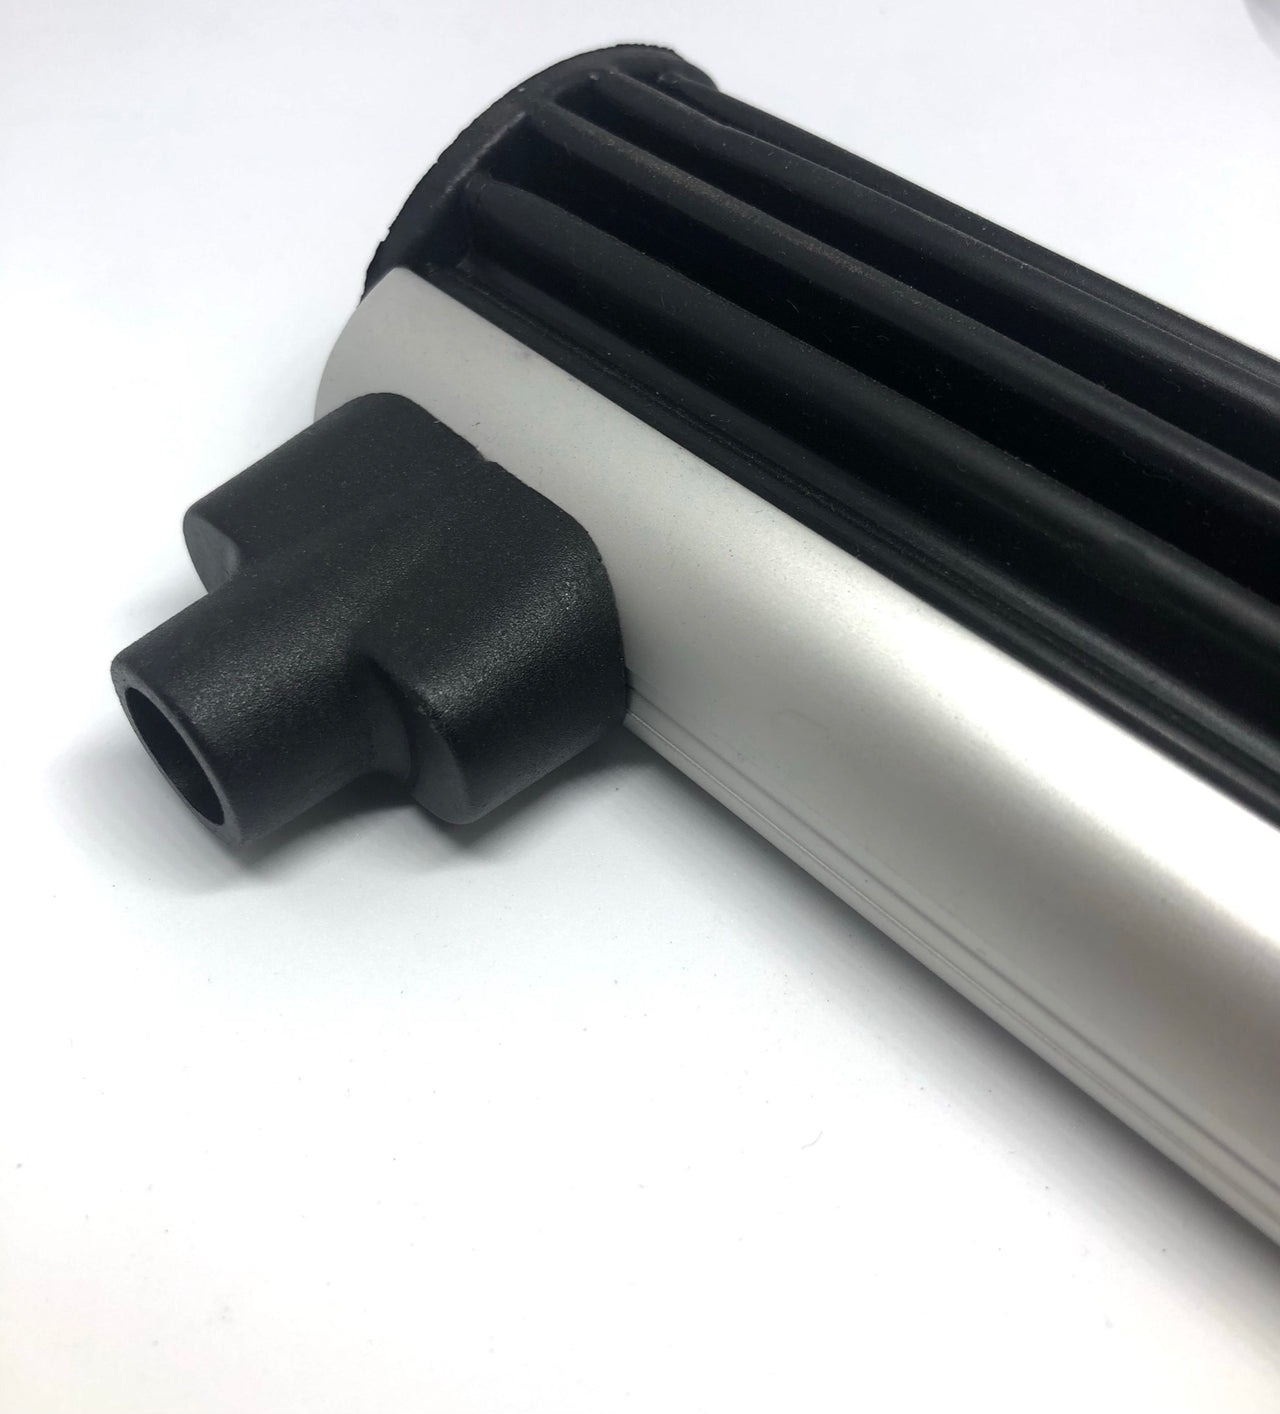
- Next, take the aluminium base plate and peel the rubber padding off to reveal your attachment holes.
- Insert the bolts into the base plate and secure with the supplied fastening nuts until secure. A quarter drive socket wrench with 10 mm socket can be used.
- Next, re-insert the rubber padding to your base plate by simply pushing into place. You will know when it is seated properly when it clicks in and is flush with the base.
- You can now install your lockrack arms by simply releasing the locking pin by pulling, and sliding them into place until they click into position and are secure.
- Replace the rubber inserts on your roofrack (if equipped) once the Lockrack installation is complete.
For more information on how to install your Lockrack view the installation video shown below.
Or Click here for a Printable File >>
Congrats on purchasing your Lockrack. Here are some handy tips and tricks to ensure you get the most out of your Lockrack unit.

- Ensure that the arms are locked in place tight and the craft is secure before driving. If there are gaps between the craft and lockrack; you not only risk the craft being damaged, but also the lockrack arm being damaged.
- It is good practice to wash/clean your lockrack every 2 - 3months. Wash any salt and sand away by removing the arms and wiping them down. Remove the rubber inserts and wash.
- Check your lockrack bases periodically to ensure the lockrack base is securely fastened to your roof rack. If neccesary tighten the locking nuts. Then ensure your base rubbers are inserted correctly.
- Ensure you install your Lockrack as per the instructions. Use the lockrack parts supplied and if you are stuck - consult the installation video, if still stuck contact us via sales@kayakspecialists.com.au
- The Lockrack arms can be inserted horizontally instead of vertically when not carrying a craft, however the Australian Sun is unkind, so for prolonged periods we recommend storing the arms inside the car.
- Prior to unlocking your lockrack, give the arm a slight push inward. This removes tension from the locking pin and will help ensure the longevity of the lockrack keys.

The Standard Lockrack Bracket fits most Aero Bar Style roofracks that have a channel down the middle. This includes Yakima, Rhino, Prorack, Whispbar, Thule and Rola among others.

If your roof rack resembles the one pictured above the Standard Bracket will work. This type of bracket is supplied with the Lockracks.

If you have a Heavy Duty Lockrack (As pictured above), you will need the Heavy Duty Adaptors - Click here >>

If you have a Square bar style roof rack, as per above, then the Square bar adaptor is required. Click here >>

If you have an Aero Style bar, but it does not have the channel running down the middle, as per above, then you will need the Universal Adaptors. Click Here >>


If you have a Platform style rack on your vehicle, the Standard Bracket will work, however in some cases the Lockrack base may require a new hole to be drilled in order to line up with the bars. And in some cases the key may need to be trimmed slightly to ensure it can turn adequately. Best to use this - #61021 - Pioneer Accessory Bar with Zwifloc | (rhinorack.com)
People often buy
+
+
+
Total price: $390.00

